How to Master Repairing Hardwood Floor Gouges in 30 Days
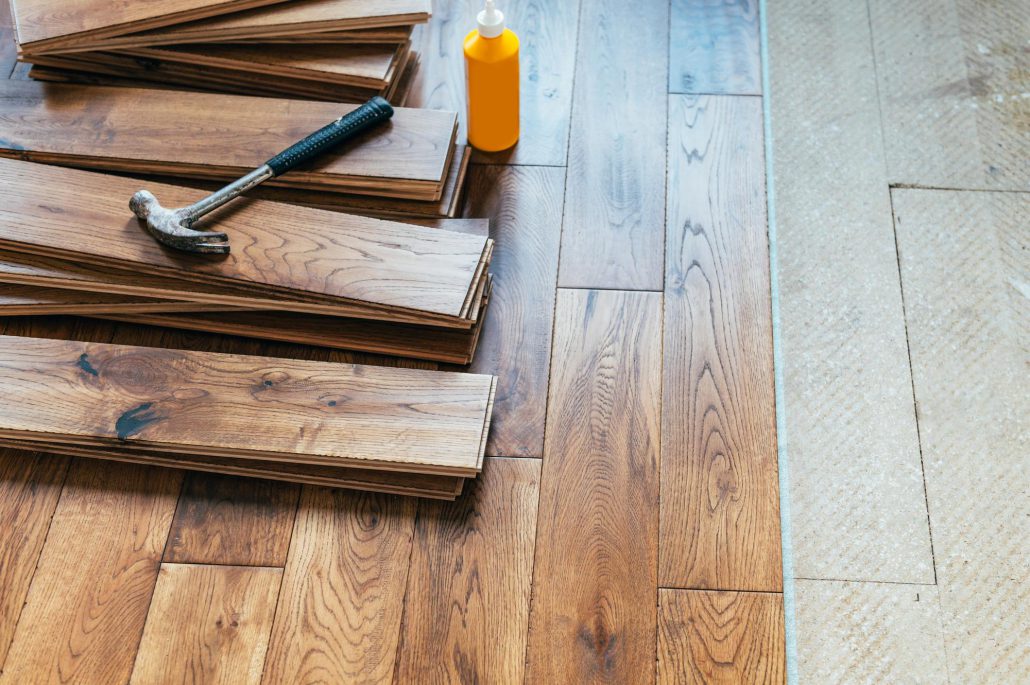
It’s an unfortunate reality that even the most well cared for hardwood floors can end up being scratched or gouged over time. Whether it’s due to moving heavy furniture, frequent foot traffic, or simply the playful antics of your pets, these unsightly marks can put a damper on the overall aesthetic of your beautiful home. The keyword here is “repair hardwood floor gouge,” and as experts at McNair Custom Homes, we are going to guide you on how to master this art and restore your floor to its former glory using simple, practical methods.
Real hardwood flooring gives your home a timeless appeal that’s hard to match, and it is indeed an investment that you’d want to protect. Unfortunately, the damage often appears difficult, leading many homeowners to either ignore it or consider replacing the entire floor, not realizing that it’s both time-consuming and costly. But the good news is such floor issues can be fixed feasibly and efficiently.
Repairing gouges on your hardwood floor can be a manageable DIY project with some elbow grease and the right tools. So, over the next 30 days, we aim to help you master the skills necessary to repair and prevent these unpleasant damages from happening again.
Here is a brief summary of the entire process:
- Identify the damage type: Scratches and gouges vary in size and depth. Knowing the nature of the damage is the first step to an effective repair.
- Gather the right tools: This could include a wax filler, touch-up pen, sandpaper, or colored wood putty, based on the damage.
- Follow a step-by-step repair guide: I will provide specific instructions for fixing every type of scratch and gouge.
- Apply preventive measures: Learn tips on preventing future damages, such as using rugs, regular cleaning, and being cautious with furniture and pets.
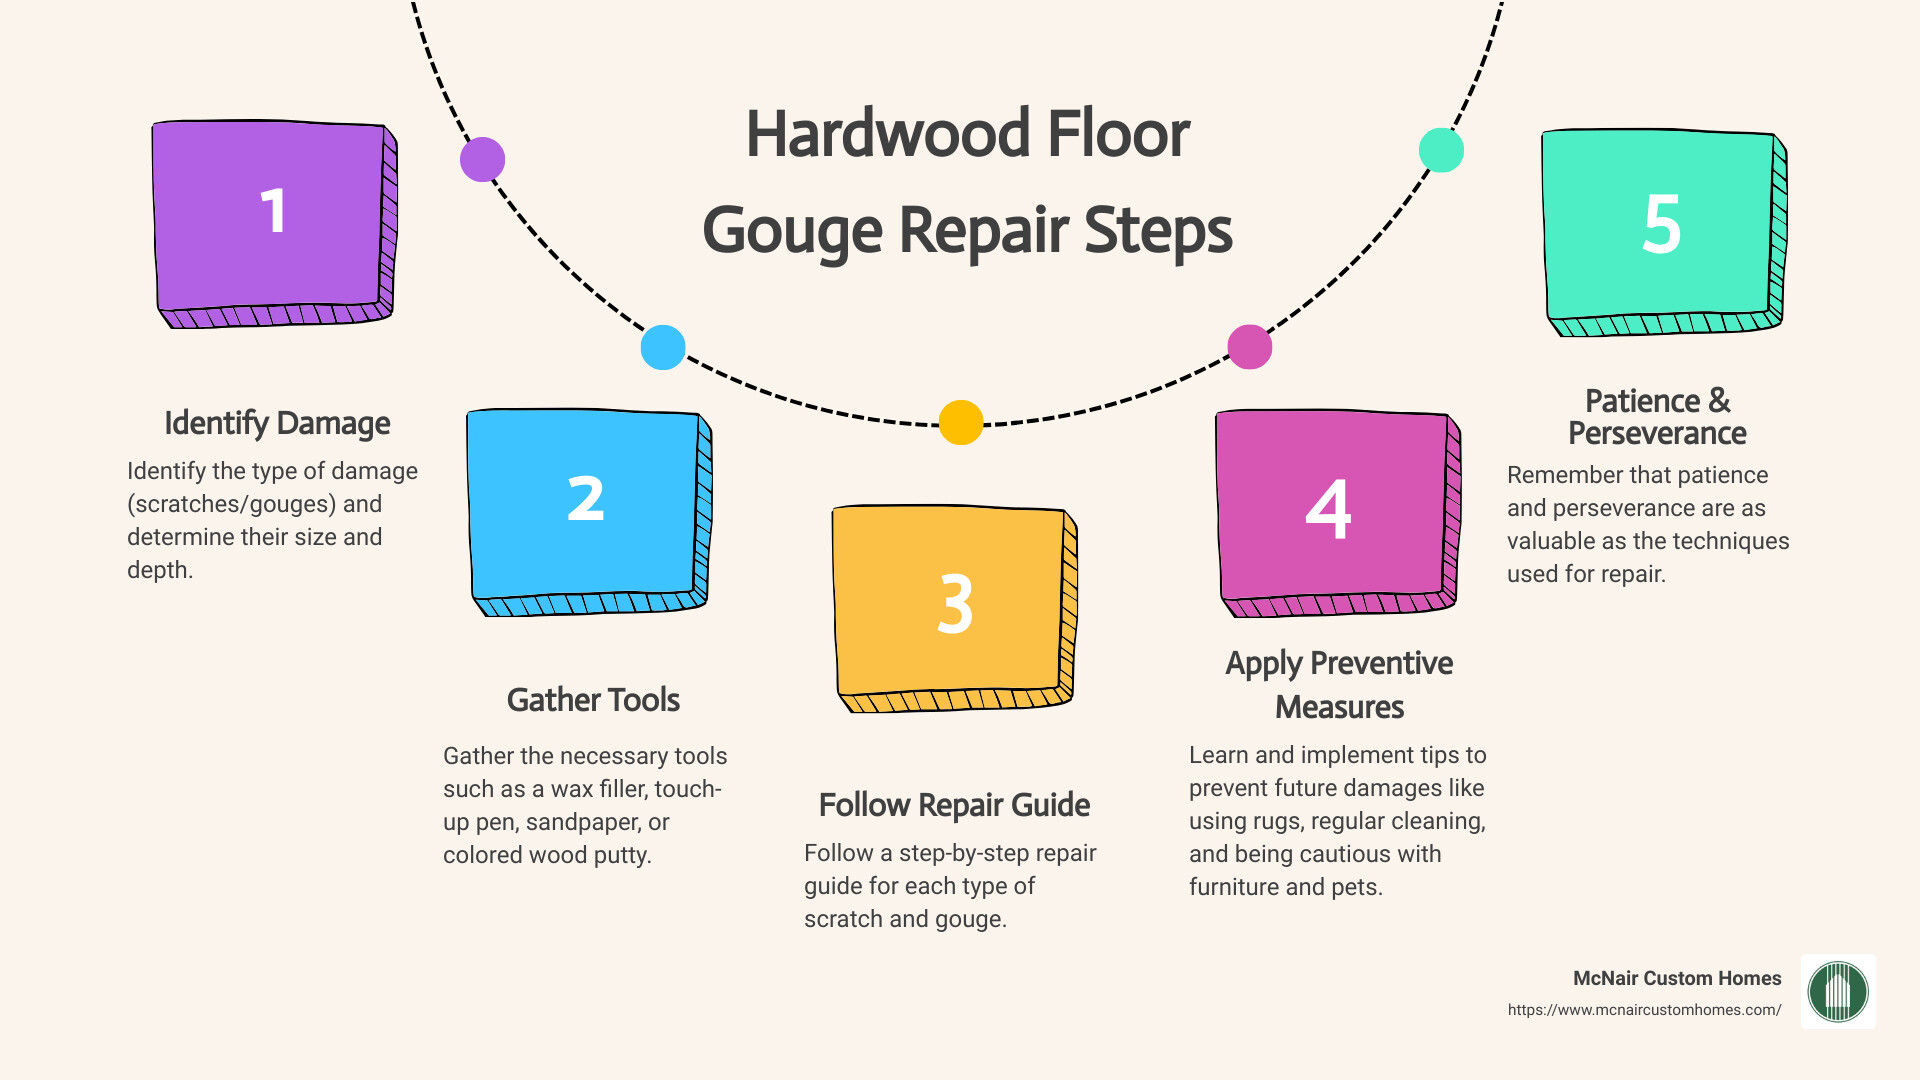
As we begin our guide, keep in mind that your patience and perseverance are as valuable as the techniques we’ll share with you. Hardwood floor repair might seem impossible, but with time and practice, you’ll see that the solution is right at your fingertips. Let’s put the shine back into your hardwood floors.
Understanding the Types of Hardwood Floor Damage
Before we dive into how to repair hardwood floor gouge damage, it’s crucial to understand the different types of damage your floor may suffer. This will help you determine the best approach for restoration.
Scrape
A scrape is a superficial type of damage that affects the surface of the hardwood floor. It’s often caused by dragging furniture, toys, or other heavy objects across the floor. A scrape can be removed using a little paste wax rubbed gently along the direction of the scrape. Once the wax has dried, you can wipe off the excess with a clean, soft cloth and buff it to a shine.
Shallow Scratch
Shallow scratches are slightly deeper than scrapes but still only affect the surface layer of the wood. These can be caused by small particles like grit or sand brought in on shoes or pets’ claws. To repair a shallow scratch, a touch-up pen matching the color of your hardwood floor can be used to fill in the scratch. You can even use a shoe polish of the same color in a pinch.
Deep Scratch
Deep scratches or shallow gouges go beyond the surface layer of the wood, penetrating into the wood itself. These can be the result of dropping heavy objects or moving furniture without adequate protection for the floors. A deep scratch can be concealed using a wax filler stick in a color that matches your floor. Rub it into the gouge until it’s filled, then buff away any excess with a clean, soft cloth.
Deep Gouge
The most severe type of damage is a deep gouge, which can be caused by substantial impact from a heavy object. Repairing a deep gouge requires a bit more work. You’ll need to use colored wood putty, pushing it into the gouge with a putty knife until it’s well packed and slightly raised from the surrounding wood. Once dried, you can sand it flush to the floor and varnish the repair.
Understanding the type of damage you’re dealing with is critical to a successful hardwood floor repair. In the next sections, we’ll provide you with step-by-step guides on addressing each type of damage and restoring your floor to its former glory. Patience is key; perfecting these techniques may take time, but the result will be well worth the effort.
Tools and Materials Needed for Hardwood Floor Gouge Repair
Before diving into the step-by-step guides to repairing your hardwood floor, it’s important to gather all the necessary tools and materials. Here’s what you’ll need:
Wood Putty
Wood putty is a type of filler that’s often used for repairing deeper gouges in hardwood floors. Choosing a color that matches your floor is crucial to ensure a seamless repair. You can typically find wood putty at your local hardware store or online.
Wax Filler Stick
A wax filler stick can be a handy tool for smaller scratches and shallow gouges. These sticks come in a variety of colors to match your floor, and they’re easy to apply, making them a popular choice for quick and easy repairs.
Touch-up Pen
Minor scratches can often be concealed with a touch-up pen. Similar to the wax filler stick, these pens come in a variety of wood tones to blend with your floor. They’re an excellent tool for precision work on small areas.
Sandpaper
Sandpaper is used to smooth the area around the gouge before and after applying any filler. It’s usually best to have a variety of grits on hand, from coarse to fine, to ensure a smooth finish.
Varnish
Finally, you’ll need a varnish or a finish that matches your floor to apply after the repair. This not only protects the repaired area but also helps it blend in with the rest of your floor.
Remember that all these materials should match the color of your hardwood floor to make the repair as seamless as possible. If you’re unsure about what to choose, don’t hesitate to ask for assistance at your local hardware store or reach out to us at McNair Custom Homes for expert advice.
Now that you have all your tools and materials ready let’s move on to the step-by-step guides to repairing your hardwood floor. Starting with shallow scratches and scrapes, we’ll walk you through each process to help you repair hardwood floor gouges and other types of damage effectively.

Step-by-Step Guide to Repairing Shallow Scratches and Scrapes
In this section, we’ll provide a step-by-step guide to repair minor damage on your hardwood floors. These processes are pretty simple and can be carried out by anyone, even without any prior experience in home repair.
Using Paste Wax
For minor scrapes on the surface of your hardwood floor, paste wax is a reliable and easy-to-use solution. Here’s how to use it:
- Clean the affected area: Use a soft, dry cloth to clean the area. Make sure there’s no dust or debris that can interfere with the wax application.
- Apply the paste wax: Scoop a small amount of paste wax using a soft cloth or sponge. Gently apply it to the scraped area in a circular motion.
- Let it dry: Allow the wax to dry. This usually takes about 10-15 minutes.
- Buff the area: Once the wax has dried, use a clean, soft cloth to buff the area and bring back the shine.
Remember, practice makes perfect. If you have a scrap of leftover finished flooring, practice on it before trying the repair on your actual floor.
Using a Touch-up Pen
For shallow scratches, a furniture touch-up pen can be a quick and efficient fix:
- Clean the area: Dust and clean the area around the scratch to ensure a smooth application.
- Choose the right color: Pick a touch-up pen that matches the color of your wood. A brown marker or shoe polish can also work if you can’t find an exact match.
- Apply the touch-up pen: Draw over the scratch with the touch-up pen. Make sure to follow the wood grain to blend in the repair.
- Wipe off excess: Before the touch-up pen dries, quickly wipe off any excess with a clean cloth. This will prevent the color from sticking to the surrounding area and make the repair less noticeable.
These simple DIY fixes should help you deal with minor scrapes and scratches on your hardwood floors. However, remember that these are temporary solutions. For more significant damage, a more thorough repair may be needed.
In the next section, we’ll discuss how to repair deeper scratches and shallow gouges using a wax filler stick. Stay tuned for more expert advice from our team at McNair Custom Homes.

Step-by-Step Guide to Repairing Deep Scratches and Shallow Gouges
Deeper scratches and shallow gouges on your hardwood floor may require a bit more work than a simple touch-up pen can handle. Thankfully, you don’t need to be an expert craftsman to get the job done. With the right materials, a little time, and some patience, you can effectively repair these damages and restore the beauty of your flooring.
Using a Wax Filler Stick
Wax filler sticks are perfect for these types of damages. They come in various colors so that you can match them to your floor’s color. Here’s how to use them:
- Clean the affected area: Remove any dust, dirt, or debris from the scratch or gouge.
- Apply the wax filler: Rub the wax filler stick over the scratch or gouge until it’s filled. Press the wax down into the gouge to ensure it fills the entire space.
- Remove excess wax: Use a plastic putty knife or credit card to scrape off the excess wax. Be careful not to scratch the surrounding floor.
- Polish the area: Use a soft cloth to buff the area until it’s smooth and blends in with the rest of the floor.
If the gouge isn’t adequately filled, you can repeat the process until you’re satisfied with the result.
Sanding and Varnishing
After filling the gouge with wax, it’s time to make the repair blend seamlessly with the rest of your floor:
- Sand the area: First, use fine-grit sandpaper (120-grit or higher) to sand the area lightly. This step helps to smooth out the filled gouge and prepare the surface for varnishing.
- Clean the area: After sanding, wipe the area clean with a damp cloth to remove any sanding dust.
- Apply varnish: Use a small paintbrush to apply a thin layer of varnish that matches your floor’s finish. Apply the varnish in the direction of the wood grain for the best result.
- Let it dry: Allow the varnish to dry according to the manufacturer’s instructions.
- Apply additional coats if necessary: If the repaired area doesn’t match the rest of your floor after one coat, you can apply additional coats of varnish as needed.
By following these simple steps, you can effectively repair deep scratches and shallow gouges in your hardwood floors without needing to call in a professional.
Remember, if the damage is more substantial or you’re uncomfortable doing the repair yourself, there’s no shame in seeking professional help. At McNair Custom Homes, we understand the importance of maintaining the beauty and integrity of your custom home, and we’re here to assist you with your home maintenance needs. Stay tuned for the next section, where we’ll tackle how to repair deep gouges in your hardwood floors.
Step-by-Step Guide to Repairing Deep Gouges
This section is for those unfortunate instances where you find a deep gouge in your beautiful hardwood floor. These can occur from a heavy object dropping onto the floor or moving heavy furniture without adequate protection. Don’t worry, though; we have you covered. Follow the steps below to repair hardwood floor gouge damage effectively.
Using Colored Wood Putty
- Clean the Area: Before you start, ensure the area around the gouge is clean and free from dust. This ensures the putty will adhere well to the wood.
- Select the Right Wood Putty: You can find wood putty in various colors at your local hardware store. It’s crucial to choose a color that closely matches your floor to create a seamless look.
- Fill the Gouge: Apply the wood putty to the gouge using a putty knife. Make sure to overfill the gouge slightly, as the putty tends to shrink as it dries.
- Let it Dry: Allow the putty to dry completely, according to the manufacturer’s instructions.
Sanding and Varnishing
- Smooth the Surface: Once the putty has dried, use fine-grit sandpaper to smooth it until it’s level with the rest of the floor.
- Clean Again: Wipe the area clean with a damp cloth to remove any dust from sanding.
- Varnish: Apply a varnish that matches your floor’s finish. This will protect the repaired area and help it blend in with the rest of the floor.

Remember, it’s always important to test these repairs on a less visible part of your floor first to ensure the color matches and the repair blends in well.
This process can be quite labor-intensive and may not be enough for extensive damage. If you’re facing such a situation, don’t hesitate to contact professionals like us at McNair Custom Homes. We can offer expert advice and services to help maintain the beauty and longevity of your custom home.
In the next section, we’ll discuss how to prevent future damage to your hardwood floors, so that you can continue to enjoy their beauty and warmth for years to come.
Preventing Future Damage to Your Hardwood Floors
Preventing future damage is just as important as knowing how to repair a hardwood floor gouge. Here are three simple yet effective methods we recommend at McNair Custom Homes.
Using Doormats and Rugs
One of the easiest ways to protect your hardwood floors is by using doormats and rugs. It may surprise you to learn that dirt and grit brought in from outside are some of the biggest culprits behind minor scratches on hardwood floors. Place doormats next to all exterior doors to capture dirt before it gets tracked onto your floor. In high-traffic areas of your home, consider using rugs to offer additional protection.
Regular Cleaning and Maintenance
Keeping your hardwood floors clean is vital to their longevity. Regularly sweeping with a soft brush helps to remove dirt and grit that could potentially scratch the floor. Also, consider oiling your hardwood floor periodically. As shown in this Reddit post, oiling adds an extra layer of protection and really brings out the beauty of the wood.
Furniture and Pet Precautions
Furniture and pets can also be sources of damage to hardwood floors. When moving furniture, always use felt protective pads or a piece of leftover carpeting, soft side down, to prevent scratches or gouges. Ask anyone entering the room to remove their shoes or even supply slippers at the entrance. For pet owners, keeping your pets’ nails trimmed is crucial. As one Reddit user humorously pointed out, pets can get a little too excited about new rugs or carpets, which could lead to unexpected scratches on your hardwood floor underneath.
Following these precautions will help keep your hardwood floors looking like new for years. At McNair Custom Homes, we believe that a well-maintained hardwood floor is a beautiful and durable addition to any custom luxury home. However, if you encounter a hardwood floor gouge that seems too challenging to repair, don’t hesitate to contact us for professional advice and assistance.
When to Seek Professional Help for Hardwood Floor Gouge Repair
While we’re all for a bit of DIY spirit, sometimes professional help is necessary to ensure the longevity and beauty of your hardwood floors. Understanding when to call in the experts can save you time, money, and unnecessary stress.
Signs Your Hardwood Floor Needs Refinishing
As a general rule of thumb, your hardwood floor might need professional refinishing every seven to ten years. Here are some signs that your hardwood floor might require more than a simple DIY touch-up:
- Fading color: Sunlight and foot traffic can cause your hardwood to fade over time. If you notice significant color change, it’s time to consider professional refinishing.
- Worn-out polyurethane coating: When your floor turns gray, it’s a sign that its protective coating is wearing off, exposing the wood to damage.
- Loss of luster: If your wood planks look dull and unattractive, a professional refinish can bring back their shine.
- Persistent scratches and splinters: If your floorboards are deeply scratched or have begun to splinter, it’s time to call in the experts.
- Water stains: Hardwood is susceptible to water damage. If you notice water stains, professional help is necessary.
The Benefits of Professional Hardwood Floor Restoration Services
Choosing to hire a professional for your hardwood floor gouge repair comes with numerous benefits:
- Expertise: Professionals, like our team at McNair Custom Homes, are trained to handle different types of hardwood damage and can ensure the repair process is done correctly and efficiently.
- Quality: Professional services use high-quality materials and advanced techniques to restore your hardwood floor to its original beauty.
- Saves time: Repairing hardwood floor gouges can be time-consuming. Letting a professional take over gives you more time to focus on what matters most to you.
- Long-term protection: Professionals also provide long-term solutions to prevent future damage to your hardwood floors.
Remember, maintaining your hardwood floor is essential to preserving the beauty and value of your custom luxury home. At McNair Custom Homes, we’re committed to helping you keep your home looking its best. If you need professional help to repair hardwood floor gouge damage or any other hardwood floor restoration services, don’t hesitate to contact us. We have a lot of terrific contacts in the flooring restoration industry.

Becoming a Master of Wood Floor Repair
Mastering the art of repairing hardwood floor gouges in 30 days is more achievable than you might imagine. The key is understanding the different types of damage, having the right tools and materials on hand, and following a precise step-by-step process for each type of repair. With a bit of patience and practice, you can restore the beauty of your hardwood floors and maintain the high-quality finish that is a hallmark of a McNair Custom Home.
Remember, regular cleaning and maintenance and some simple preventative measures can help prevent future damage to your floors. But hardwood floors can show signs of wear and tear even with the best care. If you notice deep gouges, wide scratches, or areas where the finish is worn away, it may be time to seek professional help.
We’re Here to Help, Long After the Sale
Here at McNair Custom Homes, we understand the importance of preserving the beauty of your home. Our team of experts is always ready to assist you with any hardwood floor restoration services you may need. Our commitment to reputation, honesty, and quality extends beyond just building your dream home. We strive to support you in maintaining your home’s attractive appearance throughout its lifetime.
Hardwood floor gouge repair is a skill that, with a little time and effort, any homeowner can master. But remember, you’re not alone in this journey. John McNair and the rest of our team at McNair Custom Homes are always here to answer any questions and provide professional assistance when needed.
Don’t let minor floor damage steal the joy of your beautiful custom home. Equip yourself with the right knowledge and tools, and soon, you’ll be fixing those hardwood floor gouges like a pro. And remember, your beautiful, well-maintained hardwood floor is not just a surface to walk on. It’s a reflection of the love and care you put into your home.
Thank you for choosing McNair Custom Homes. We are honored to be part of your home’s journey and look forward to supporting you every step of the way.


Leave a Reply
Want to join the discussion?Feel free to contribute!